There’s usually only one inspection done on a set of stairs and that’s when the house is built. If you’re capping your existing stairs with something you should be just fine. Adding a consistent 1/4”? to each stair wont throw off how the stairs feel to climb and descend, no trip or fall hazard due to one stair being different than the rest. We’re talking 1/4”? and the only place that might be thrown off is the first and last step unless you’re doing the upstairs and downstairs as well. If that’s the case then you’ve consistently raised all your finished floor covering heights the same amount so there should be no change from when the house was originally built and inspected.
Now for the nosing. I did a 2 piece edge like that on a bathroom countertop I made out of leftover engineered hardwood. No reason you couldn’t do that on a set of stairs. You better make them bulletproof so they will withstand the beating that a stair nose takes. Maybe make a few test pieces and walk on them for a few to see if they will hold up to the abuse rather than just look good only to split down the road.
I used factory edges (not sharp but still a clean miter because I left the factory micro bevel) and ran them through my router table with a 45 bit, more accurate than my table saw, then glued it all together and pin nailed it.
I would prolly assemble the nose pieces ahead of doing the stairs so you’re not fighting installing the stair and assembling the miter at the same time.
Now you know the nose piece has gotta be tough so what glue do you use for assembly. Gorilla Glue (the nasty stuff) is an absolutely bulletproof wood glue but it expands and oozes all over. That’s gonna be a mess and it keeps expanding after you walk away so now you’ll be cleaning up hardened ooze the next day of you can even get it off without fudging up the wood itself. Are you ready for that? Titebond 2 is prolly what I would use because it cleans up nicely with a damp rag. Use plenty of adhesive and assemble the nose pieces ahead of time then let them thoroughly dry. I would use plenty of construction adhesive on the nose of the tread itself when installing your stairs.
You got this and post some pics when you’re done

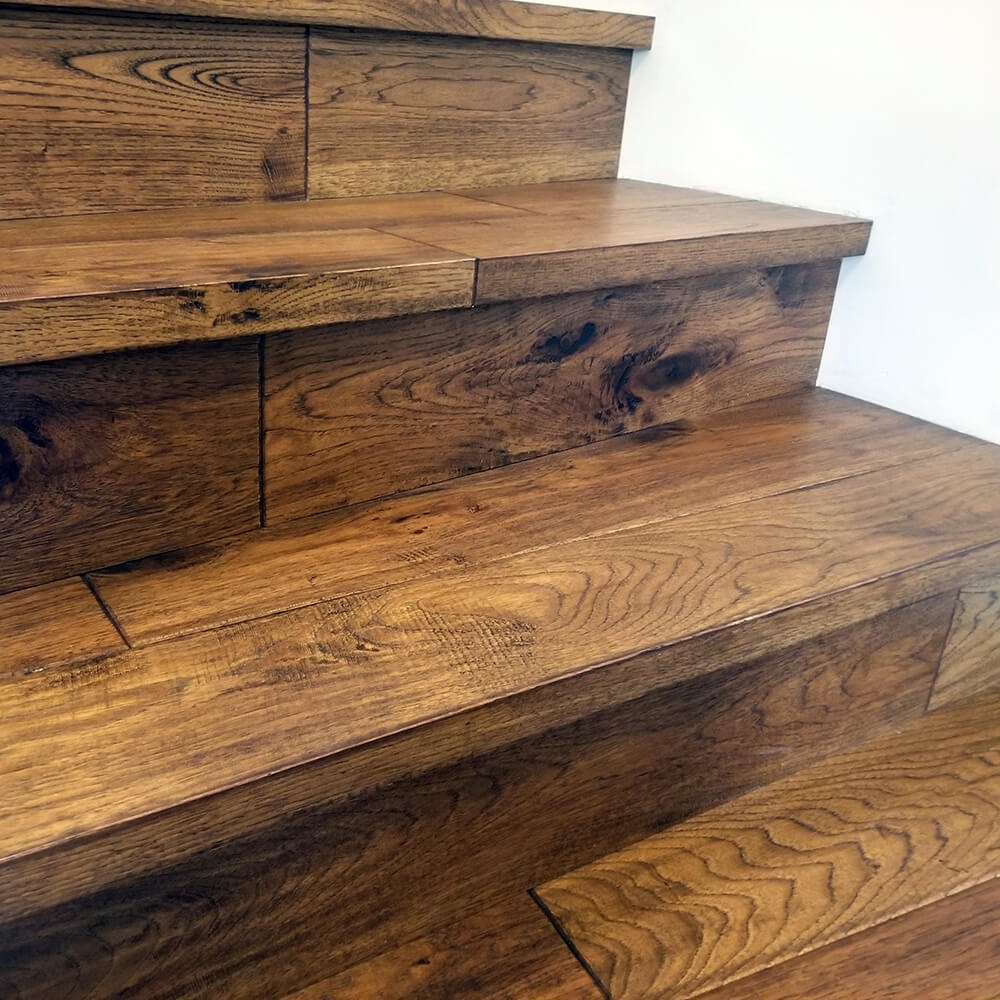
Here’s what the mitered corners look like on my countertop.